
About MDS Roof Doctors
MDS Roof Doctors receives calls from homeowners who notice leaks, missing shingles, or damaged flashing. Our technicians arrive with basic tools and start by walking the roof to record visible symptoms. They lift select shingles only when needed to trace water paths to their source. Findings are described in plain terms before any work begins. After the repair the surface is restored and all debris is removed from the yard.
Questions about a job? Start on the MDS Roof Doctors homepage or call (888) 301-2730.
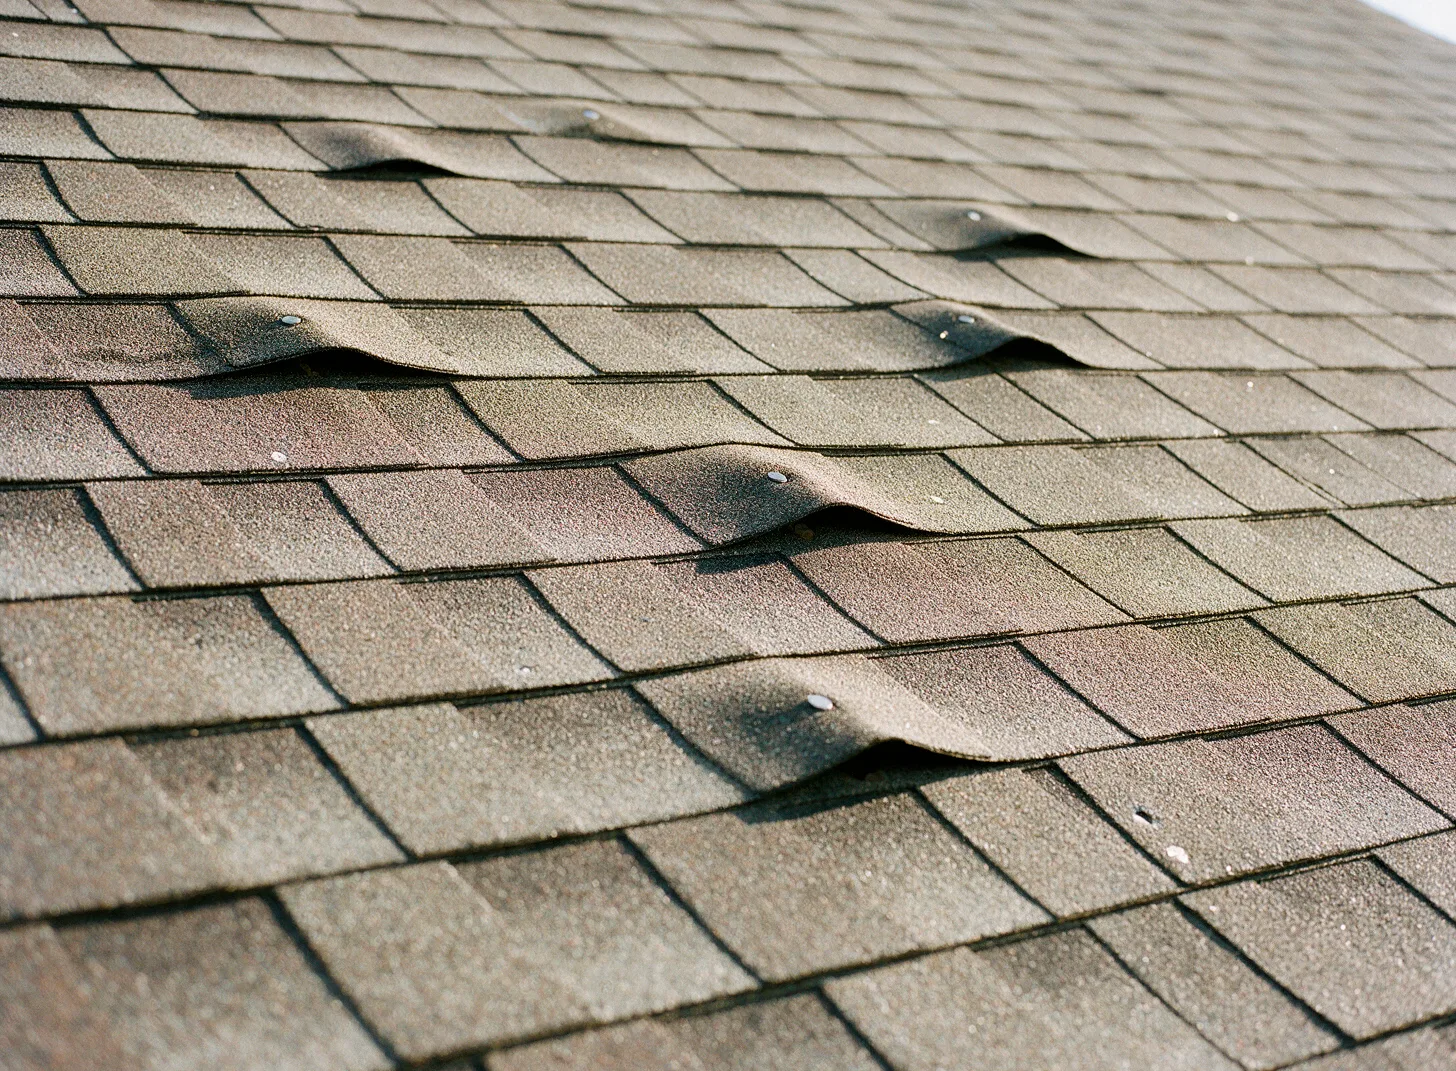
Symptom First
Technicians record visible signs before lifting any material so the cause is never guessed.
Under Shingle Check
Water paths are traced beneath the surface only after surface mapping is complete.
Plain Explanation
Findings are described using everyday roofing terms so homeowners follow each step.
Clean Leave
All debris and packaging travel off site, leaving only the repaired roof surface.
Call Intake and Symptom Notes
When a homeowner contacts MDS Roof Doctors the first step is to record the exact symptoms described over the phone. Details such as water stains on ceilings, granules in gutters, or wind-lifted edges are noted so technicians arrive with an idea of what to examine. No assumptions are made until the roof is seen in person.
Technicians confirm the roof type during the call so the proper ladder and safety gear travel with them. The goal is to arrive ready to begin inspection without delay. Homeowners are asked to point out interior marks or exterior spots they have already observed so those areas receive immediate attention.
On-Roof Inspection Process
Once on the roof our technicians walk every slope in a systematic pattern, starting at the low edge and moving upward. They check for cracked shingles, lifted flashing, and ponding areas first because those signs often point to the water entry point. Only after mapping visible damage do they gently raise a few shingles to inspect underlayment and decking.
The cause is traced by following water stains backward from the interior mark to the exterior breach. Technicians note whether the problem stems from missing nails, deteriorated sealant, or ventilation imbalance. Each observation is logged before any repair material is opened so the homeowner receives a complete picture rather than piecemeal fixes.
Findings and Repair Discussion
After the inspection the technician meets the homeowner at ground level and describes the symptoms, the traced cause, and the repair steps in that order. Language stays practical, using terms such as decking, felt, and drip edge rather than technical jargon. Homeowners are shown the damaged piece or photo if they want to see the evidence themselves.
Only after the explanation does the technician outline the materials required for the fix. The discussion covers how the repair will restore the existing drainage path and prevent the same water route from recurring. No work proceeds until the homeowner understands the sequence and agrees to the plan.
Work Completion and Site Restoration
Repairs are performed from the top down so each layer overlaps correctly. Fasteners are placed in the same pattern used by the original installer to maintain shingle alignment. Flashing is reset or replaced only where the inspection showed sealant failure or corrosion. The area is swept clean of granules and cutoffs before the technician descends.
All removed materials and packaging are carried off the property rather than left near the trash bins. Gutters are checked one final time to ensure no debris from the repair remains. The homeowner receives a verbal summary of what was corrected and which areas to monitor after the next heavy rain.