
Roof Inspection in the USA
Our technicians approach every Roof Inspection like a medical exam on the roof surface. They begin at the ridge and work downward, noting granule loss on shingles, lifted edges, and any separation at valleys where water concentrates during heavy rain. Measurements include slope angle and remaining shingle thickness at multiple test points to determine how far weathering has progressed into the felt layer beneath.
Next the crew inspects all penetrations and transitions. They check pipe boots for cracks, examine skylight curbs for sealant failure, and probe flashing around chimneys to see whether rust has opened gaps that direct water under the field shingles. Any soft spots found with a moisture meter are marked for further evaluation once interior access is available. MDS Roof Doctors finds the hidden leak origin tied to roof inspection then plans the roof repair work across USA.
Observable Changes on the Surface
- Granules collecting in gutters point to accelerated shingle wear from ultraviolet exposure.
- Dark streaks running down slopes indicate sealant breakdown along nail lines.
- Sagging sections between rafters show moisture has reached the decking.
- Rust stains around metal vents signal flashing corrosion allowing water entry.
- Moss growth along north slopes keeps moisture trapped against the shingle surface.
What Technicians Measure During Inspection
Technicians use a moisture meter on the decking and probe nail heads for lift caused by deck expansion. They count rows of missing or damaged shingles and record the condition of ridge cap fasteners. These readings show how much of the original roof assembly remains functional versus how much has already absorbed repeated wetting cycles.
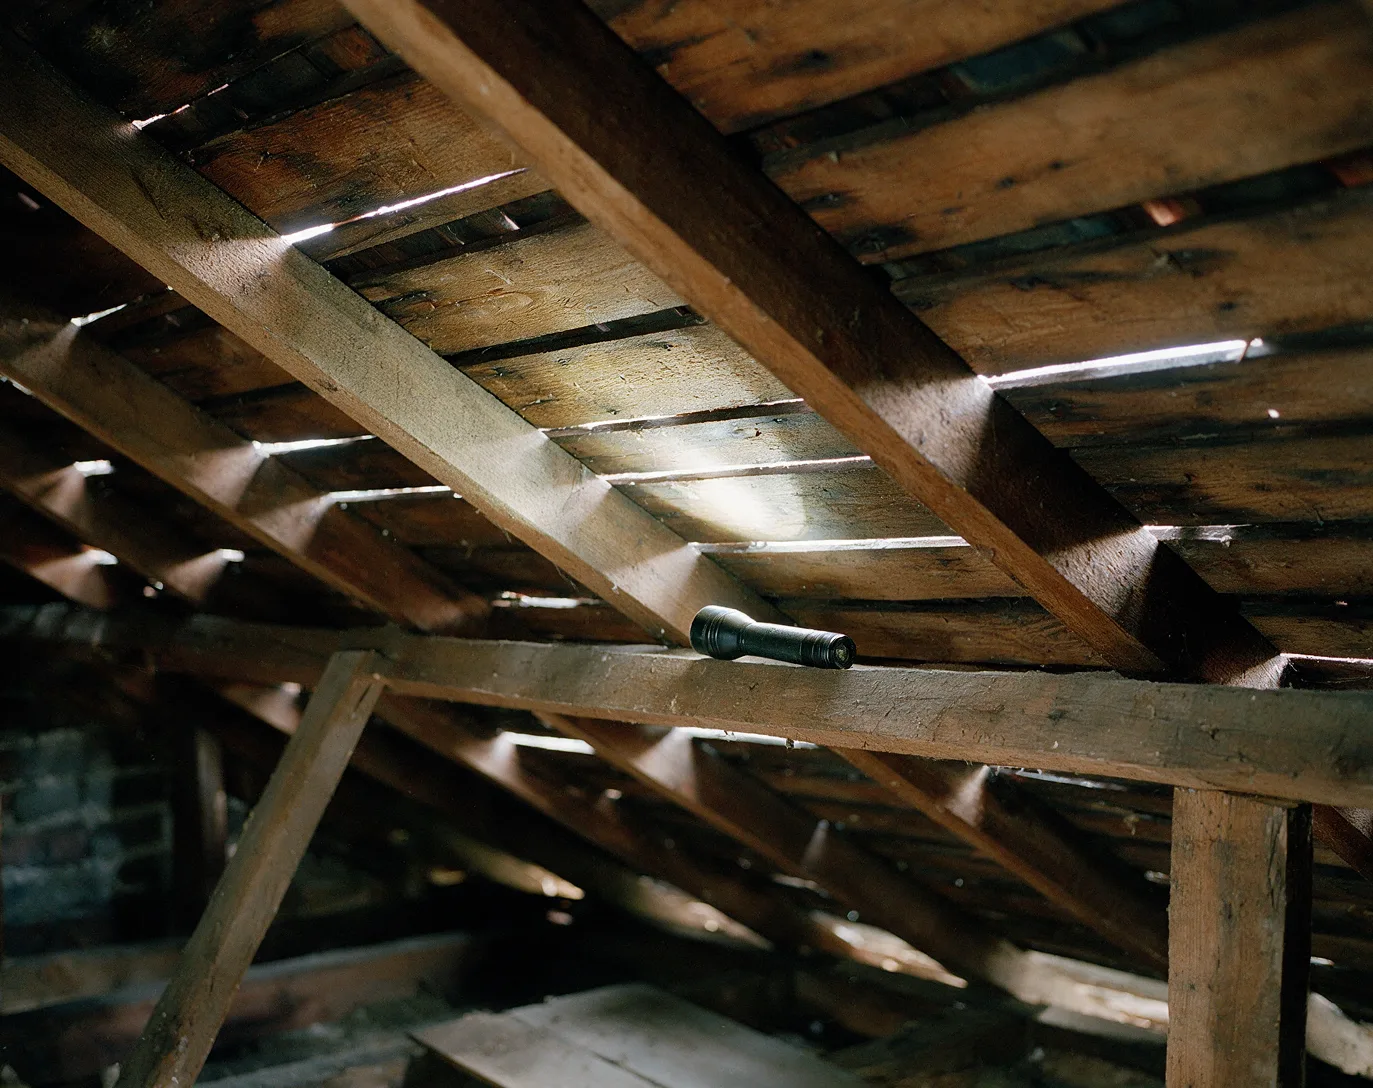
Attention then turns to the attic side. Crew members look for daylight through decking joints, check rafter spacing for deflection, and note insulation compression from past leaks. This combination of exterior measurements and interior observations reveals whether the roof can continue protecting the home or requires targeted component replacement.
Common Causes Found Under the Shingles
Most roof problems begin with small openings at flashing edges that allow wind-driven rain to reach the underlayment. Once water reaches the felt, it travels laterally until it finds a nail hole or deck joint. Repeated cycles soften the wood and lift shingles, creating larger entry points that accelerate interior staining.
Another frequent cause is improper valley construction where two different roof planes meet. If the valley metal lacks adequate overlap or the shingles are cut too short, water backs up during storms and works under the field. Our inspection documents these details so repairs address the actual path rather than just the visible symptom.
Homeowner Steps Before the Crew Arrives
Clear leaves and debris from gutters so water flow during the visit matches normal conditions. Move vehicles away from the house to give technicians clear ladder access along the eaves. Note the dates of any interior ceiling spots so the crew can correlate those locations with exterior findings.
Do not climb onto the roof yourself. Walking on weathered shingles can create new cracks or dislodge loose pieces that complicate the inspection. Instead, walk the yard perimeter and photograph any visible damage from the ground so you can share those images when the technicians arrive.
Repair Options After Inspection Results
When inspection shows isolated flashing failure, technicians can remove the affected course of shingles, install new step flashing and step shingles, then blend the repair into the surrounding field. This approach restores the water-shedding plane without replacing the entire slope.
If moisture meter readings indicate widespread deck softening, the section is marked for replacement. Technicians remove the damaged decking, install new plywood to match existing thickness, then reinstall underlayment and shingles to maintain consistent slope and fastening patterns across the repaired area.
Roof Inspection questions
How long does a Roof Inspection take?
Time varies with roof size and complexity. Technicians typically spend two to three hours on a single-story home, moving methodically from ridge to eave while recording measurements at set intervals and checking every penetration.
Will the inspection damage my roof?
Technicians use soft-soled boots and place ladders on fascia or designated supports. They walk only on sound shingles and avoid stepping on ridges or valleys. Any test cuts are made in inconspicuous locations and sealed immediately.
What happens after the inspection is complete?
Technicians compile a written summary that lists each finding by location, notes the probable cause, and outlines repair steps that match the observed conditions. The summary stays with the homeowner for reference during any follow-up work.
Can inspection findings lead to partial repairs?
Yes. When damage is limited to specific valleys or penetrations, the crew replaces only those components and the surrounding shingles needed to maintain a continuous water plane. Full slope replacement is recommended only when widespread deck softening is confirmed.
Schedule Roof Inspection
Contact MDS Roof Doctors to arrange a Roof Inspection that examines every slope and transition across your home.